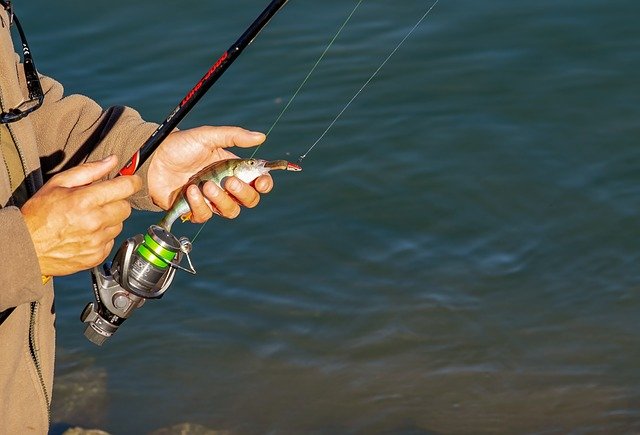
Of all the different fish, carp is one of the most popular with beginners and experienced anglers alike. This is not surprising, as the carp is a large fish, usually weighing between 10 and 20 kg. Moreover, it is one of the fish that can be caught at night. Setting the hook is a crucial step when preparing for carp fishing. Once you have decided on the type of hook you will use, you need to fit it to the fish carp hook once you have decided on the type of hook you are going to use, you need to think about how to attach it to the leader. There are several techniques available for setting the hook for carp. For our part, we are going to present you below the techniques which are the most used by the fishermen.
Setting an eye hook
Eye hooks are the most popular type of carp hook for beginners and professionals alike. There are countless ways of attaching this type of hook to the end of a fishing line. Below you will find the technique that is the easiest to use, but which is very effective. Please note that when attaching a hook to the leader, a knot must be made, and this also applies to the eye hook.
To make the simple knot for an eye hook, follow the 3 steps below:
- First, make a loop of about 15 cm with the leader of the fishing line. Insert the loop thus made into the eye of the hook (from the bottom to the top if it is a horizontal eye).
- After the loop has passed through the eyelet, tie a simple knot around the main line with the loop.
- Finally, insert the hook into the loop and slowly tighten the knot (moisten the line well to ensure optimal tightness).
The hair tie or “knotless knot
To connect the line and thecarp hook, there is also a very popular technique called the ‘hair tie’ or ‘no knot’. This set-up consists of a hook which is followed by a small line with a loop at the end. This loop, also known as a “hair”, is where the bait is threaded.
Setting a knotless hook is quite easy.
First, take a piece of fishing line about 30 to 40 cm long and make a single loop at one end (to form the hair). Then thread the other end (without the loop) through the eyelet (from the outside to the inside of the hook)
After that, place the piece of line with the hair on the hook shank. While holding this piece of line firmly in position on the shank, make 5 to 8 loops with the other end of the line. Start at the eye of the hook and work your way up the shank. Then make a half-turn to reintroduce the end of the thread into the eyelet (always from the outside to the inside). Finish by tightening the knot.

